Getting Started with Reflex
In this first installment of the reflex tour, we’ll set up a stack-based infrastructure for compiling reflex programs, see some basic code, and see how we can compile and minify our app.
Quick Start
Contrary to the standard way of installing reflex, which is based on the nix
package manager, we’ll focus on a stack based installation. The repo for
this tutorial is here.
Clone the entire repo, move to that folder and launch these installation steps:
stack build gtk2hs-buildtools- Be sure to have the required system libraries (like
webkitgtk). If you miss some of the libraries, they will pop up as error in the next step, and you can install the missing ones - Build with ghc:
stack build - Execute the desktop app:
stack exec userValidation - Build with ghcjs:
./deploy.sh - Execute the web app:
firefox js/index.html - TODO: check that this works on macOS
Update: Instruction for macOS, on yosemite 10.10.5
git clone https://github.com/vacationlabs/haskell-webapps.git
cd haskell-webapps/
cd UI/ReflexFRP/starterApp/
stack build gtk2hs-buildtools
stack setup --stack-yaml=stack-ghcjs.yaml
stack install happy
stack build --stack-yaml=stack-ghcjs.yaml
/Applications/Firefox.app/Contents/MacOS/firefox $(stack path --local-install-root --stack-yaml=stack-ghcjs.yaml)/bin/starterApp.jsexe/index.html
While all this builds (it will be a fairly lengthy process the first time), if you are a new reflex user, be sure to check the beginners tutorial (if you want an installation process based on stack for the same code, check out here.
and the two quick-start references that will constitute most of the function we’ll use in this series (for both reflex and reflex-dom).
You can see that there are two files: a stack.yaml
and a stack-ghcjs.yaml.
Both contain the same version of the libraries we’re using, but with this setup
we get a desktop app for free (built using webkit), and we’re able to use tools
for checking the code (like intero or ghc-mod) that don’t yet directly
support ghcjs.
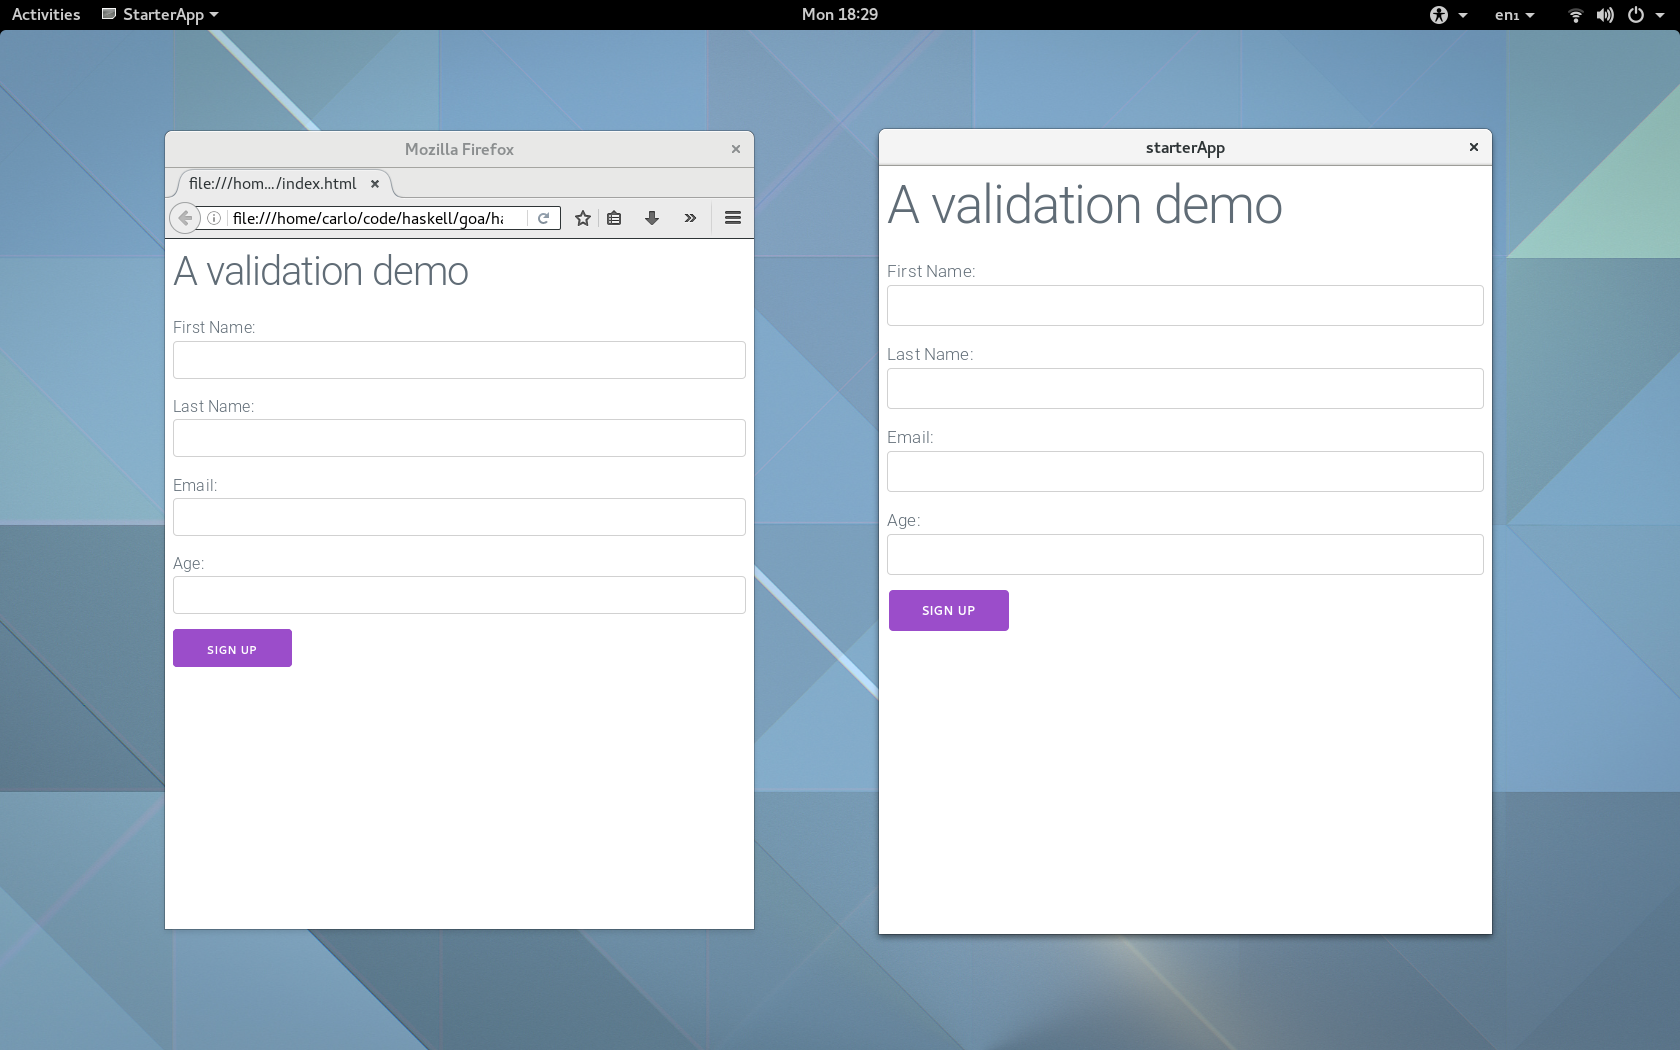
Here below you can see the two versions of the app:
A look at the code
The first objective that this file has is to show how to deal with the fact that sometimes we don’t want our values to be updated continuously: for example when designing a form, we want the feedback from the program to happen only when something happens (like, the login button is clicked, or the user navigates away from the textbox
Let’s begin commenting the main function:
The first function we’ll going to see is:
mainWidgetWithHead :: (forall x. Widget x ()) -> (forall x. Widget x ()) -> IO ()
This is the type of a Widget:
type Widget x = PostBuildT Spider
                   (ImmediateDomBuilderT Spider
                     (WithWebView x
                       (PerformEventT Spider
                         (SpiderHost Global))))
(it’s a bit scary, but I want to introduce it here because there is an error that happens sometimes when not constraing the monad enough, and this is the key to understand that. TODO, flesh out this section)
You don’t need to concern yourself with the exact meaning of this, it’s just a
convenient way to talk about a monadic transformer which hold the semantics
together. Usually we just pass to that function an argument of type
MonadWidget t m => m (), as you can see from:
In which we import the css files we need from a cdn.
As you can see, the structure of the main function denotates the components of this simple app, giving a name to the return values.
Note that the RecursiveDo pragma lets us use the return value of the button
before of his definition. It’s useful to think at the main as having the
following meaning: in the first pass, the widgets are constructed, and
subsequently the reactive network continues the elaboration (TODO: I’m not sure
to include this visualization).
The most important functions are validateInput and notifyLogin, defined below:
The validateInput function is directly responsable for the rendering of the
label, using the pure function to validate the data, and change the value
reported back to the caller as soon as the button is pressed.
On the other hand, the function:
is responsible for drawing the notification for the successful login as it happens.
With these suggestions in mind, you can read directly the source code which is thoroughly commented.
Simple deployment
The ghcjs compiler by default generates some extra code dealing with node
bindings: as we want only the webapp here, the first pass in the optimization is
using the -DGHCJS_BROWSER option to strip the node code from the generated
executable. We also use the new -dedupe flags that optimizes for generated
size. All this is accomplished in this section of the cabal file:
The next step will be using google’s closure compiler to minify the compiles
javascript, and then google’s zopfli to gzip it; go ahead and install those
tools (I just did sudo dnf install ccjs zopfli on fedora, but you can find
the relevant instructions on their github pages).
I included a simple deployment script to show how you could compile and minify your app (I’m purposefully creating a simple bash script, there are much more things you can do, check them at ghcjs deployment page).
Here’s the relevant output of ls -alh js, to show the size of the generated files:
-rw-r--r--. 1 carlo carlo 3.0M Dec 12 17:16 all.js
-rw-rw-r--. 1 carlo carlo 803K Dec 12 17:17 all.min.js
-rw-rw-r--. 1 carlo carlo 204K Dec 12 17:17 all.min.js.gz
So, the final minified and zipped app is about 204 Kb, not bad since we have to bundle the entire ghc runtime (and that’s a cost that we only pay once, regardless of the size of our application).
We could also wonder if we have a size penalty from the fact that I used classy-prelude instead of manually importing all the required libraries. So I did an alternative benchmark, and it turns out that that’s not the case:
-rw-r--r--. 1 carlo carlo 3.1M Dec 12 17:35 all.js
-rw-rw-r--. 1 carlo carlo 822K Dec 12 17:35 all.min.js
-rw-rw-r--. 1 carlo carlo 206K Dec 12 17:35 all.min.js.gz
As you can see, the difference is really minimal. In fact, all the size is probably taken up by the encoding of the ghc runtime.